Introduction
Embroidery is a timeless craft that transforms simple fabric into intricate works of art. But what if you could convert image to embroidery pattern—turning your favorite photo, logo, or digital design into a custom stitched masterpiece? With the right tools and techniques, converting images to embroidery patterns is easier than you think.
Whether you're a beginner or an experienced stitcher, this guide will walk you through everything you need to know—from choosing the right image to finalizing your stitch-ready design. Let’s dive in!
Why Convert Images to Embroidery Patterns?
Custom embroidery adds a personal touch to clothing, home decor, and gifts. Instead of relying on pre-made designs, converting your own images allows for:
Unique Creations – Stitch personal photos, logos, or custom artwork.
Creative Freedom – Adjust colors, sizes, and details to fit your vision.
Professional Quality – Turn digital designs into polished embroidered pieces.
Choosing the Right Image
Not all images work well for embroidery. Follow these tips to pick the best one:
1. High Contrast & Clear Outlines
Images with bold lines and distinct shapes convert better than blurry or overly detailed photos. Think logos, silhouettes, or simplified illustrations.
2. Limited Colors
Too many colors can complicate the stitching process. Opt for images with 3-6 main colors for cleaner results.
3. Simple Backgrounds
Busy backgrounds can be tricky to embroider. If possible, use images with transparent or solid-color backdrops.
Tools You’ll Need
Before converting your image, gather these essentials:
Embroidery Software – Programs like Ink/Stitch, Wilcom, or Hatch Embroidery digitize images into stitch files.
Image Editing Software – Photoshop, GIMP, or Canva help refine your design before conversion.
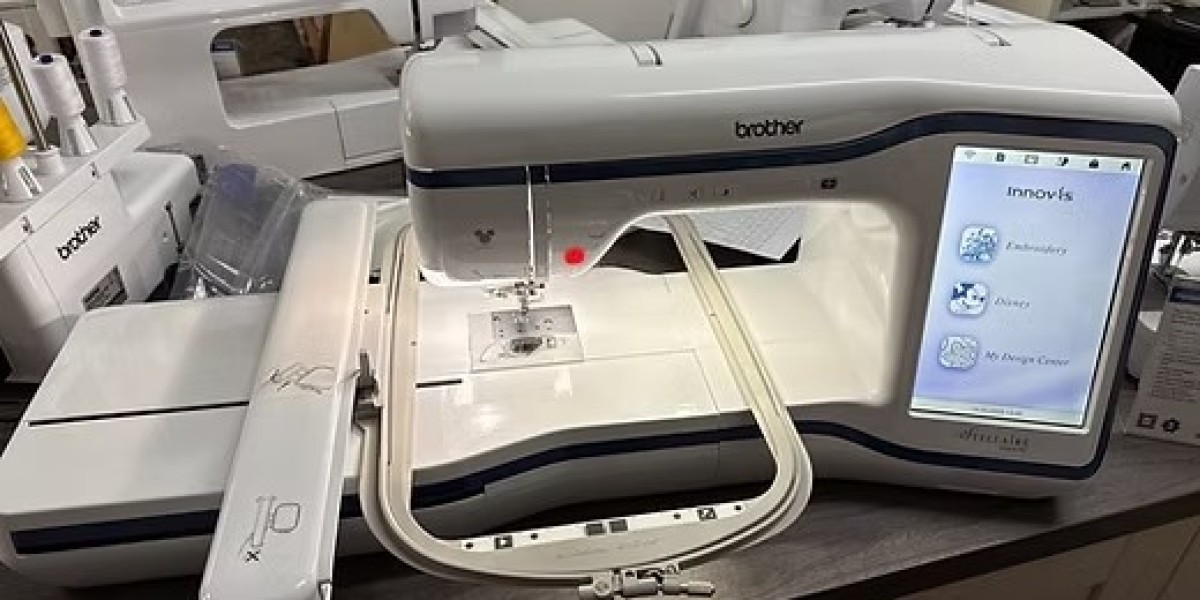
Embroidery Machine – If you’re machine-stitching, ensure compatibility with your file format (PES, DST, etc.).
Fabric & Thread – Choose high-quality materials for the best finish.
Step-by-Step Conversion Process
Step 1: Prepare Your Image
Open your image in editing software and:
Crop unnecessary areas.
Adjust brightness/contrast for clarity.
Simplify colors using the posterize tool if needed.
Step 2: Digitize the Image
Upload your edited image into embroidery software. Key steps include:
Trace the Design – Use auto-trace tools or manually outline key elements.
Assign Stitch Types – Choose between satin stitches (for smooth edges) or fill stitches (for larger areas).
Set Stitch Direction – Adjust angles for a natural fabric flow.
Step 3: Test and Refine
Before stitching on fabric:
Run a test on scrap material.
Check for thread breaks, gaps, or misaligned stitches.
Adjust stitch density or underlay if needed.
Step 4: Embroider Your Design
Once satisfied:
Hoop your fabric securely.
Load the design into your machine.
Stitch slowly for complex sections, changing threads as required.
Tips for Better Results
Start Simple – Begin with basic shapes before tackling detailed portraits.
Use Stabilizers – Prevent fabric puckering with the right stabilizer.
Experiment with Thread – Metallic or variegated threads add extra flair.
Common Mistakes to Avoid
Ignoring File Formats – Ensure your machine reads the exported file (e.g., .PES for Brother machines).
Overcomplicating Designs – Too many small details may not translate well into stitches.
Skipping Tests – Always test-run to save time and materials.
Conclusion
Converting images to embroidery patterns opens endless creative possibilities. By selecting the right image, using proper tools, and refining your technique, you can turn any digital design into a beautifully stitched masterpiece.
Ready to start? Pick an image, follow these steps, and watch your pixels transform into stunning stitches! Happy embroidering!